 Pin it
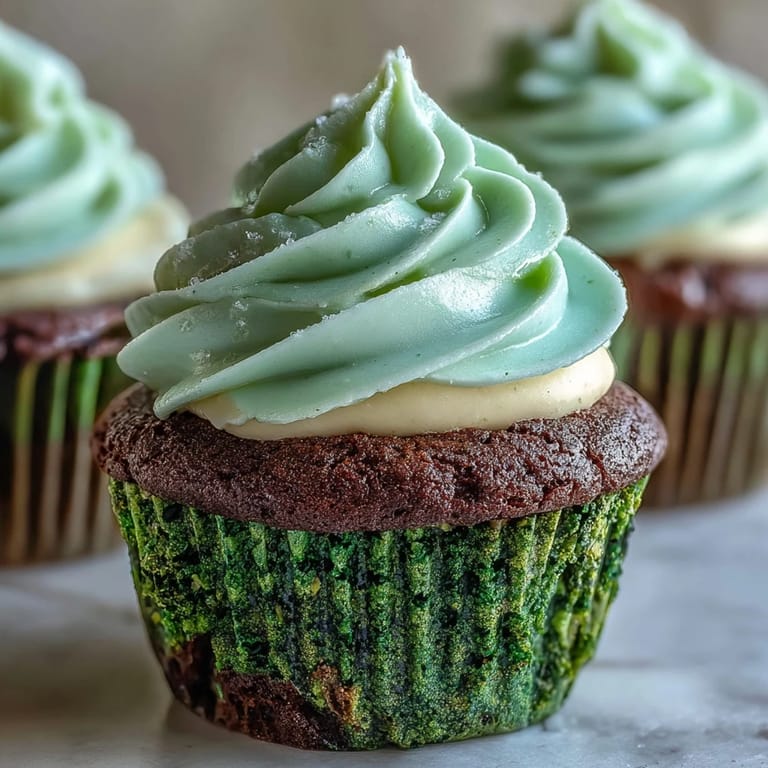
 My sister called me panicked two days before St. Patrick's Day, asking if I could bring something green to her office party. I stood in my kitchen thinking about how boring green sugar cookies felt, when it hit me—what if I made something unexpected, something with actual flavor? Green velvet cupcakes felt like the answer, that perfect marriage of festive color and genuine indulgence that would make people do a double-take when they bit into one.
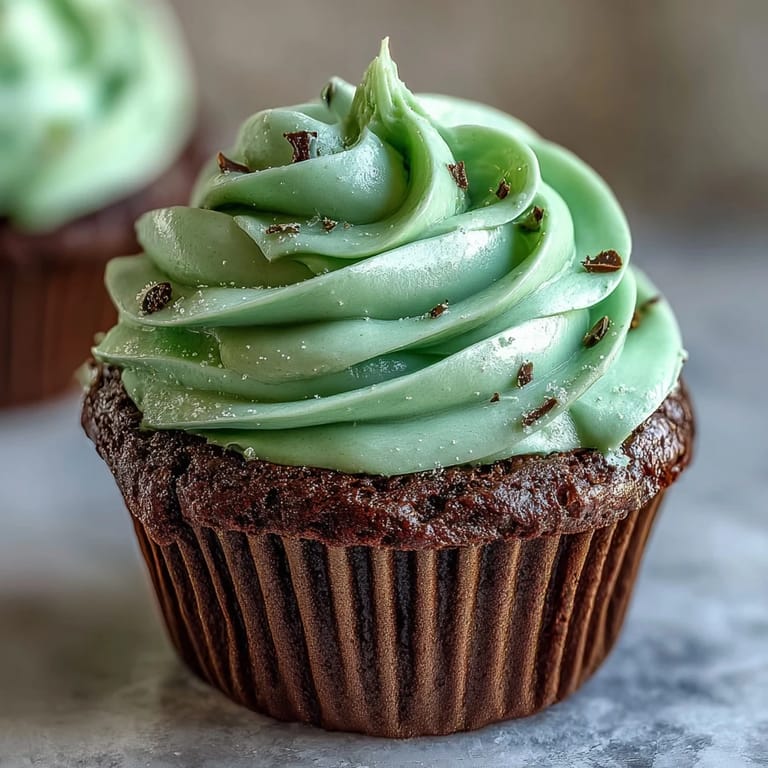
Watching my coworkers' faces when they saw those bright green cupcakes sitting on the break room table was worth every minute. Someone actually laughed and said they looked too pretty to eat, which lasted about thirty seconds before half of them disappeared. That's when I knew this recipe was a keeper—it brings joy before it even reaches your mouth.
Ingredients
- All-purpose flour (1 1/4 cups): The foundation that keeps these tender without being dense; don't sift unless you're feeling precise.
- Granulated sugar (3/4 cup): Sweetness that dissolves cleanly into the batter, no gritty texture hiding at the end.
- Unsweetened cocoa powder (1/4 cup): This is the secret—it adds richness and depth that makes the green feel intentional rather than artificial.
- Baking soda (1/2 teaspoon): Reacts with the vinegar to lift the batter and keep everything moist.
- Salt (1/4 teaspoon): A tiny whisper that makes everything taste more like itself.
- Buttermilk (2/3 cup): Brings tanginess and tenderness; room temperature matters because cold liquid can seize the cocoa powder.
- Vegetable oil (1/2 cup): Keeps these impossibly moist for days—butter would make them drier faster.
- Large eggs (2): Room temperature means they blend smoothly without creating pockets of uncooked batter.
- Vanilla extract (1 teaspoon): One teaspoon in the cupcakes, another in the frosting—it's the connective thread between layers.
- Distilled white vinegar (1 teaspoon): Works with baking soda and adds complexity you won't taste directly.
- Green gel food coloring (1 tablespoon): Gel matters because liquid coloring adds water and thins the batter; use the vibrant bottle, not the pale one.
- Cream cheese (8 oz): Softened at room temperature; if it's cold, your frosting will be lumpy and your patience will evaporate.
- Unsalted butter (1/4 cup): Softened the same way, working as a partner to the cream cheese for that perfect fluffy texture.
- Powdered sugar (2 cups): Sifted first, because clumps in frosting feel like failure.
- Green sprinkles or shamrock candies (optional): The finishing touch that says you care, even if the cupcakes are already finished.
Tired of Takeout? 🥡
Get 10 meals you can make faster than delivery arrives. Seriously.
One email. No spam. Unsubscribe anytime.
Instructions
- Preheat and prepare:
- Set your oven to 350°F and line your muffin tin—you want those liners snug so the batter stays put as it rises. This five-minute setup saves you from the scramble later.
- Build the dry base:
- Whisk flour, sugar, cocoa powder, baking soda, and salt together in a large bowl, breaking up any cocoa lumps as you go. Take your time here; a smooth dry mixture accepts the wet ingredients without creating streaks.
- Blend the wet components:
- In another bowl, whisk buttermilk, oil, eggs, vanilla, vinegar, and green coloring until the color is even and everything looks homogeneous. Listen for the whisk hitting the sides cleanly—you'll know when the eggs are fully incorporated.
- Bring it together:
- Pour wet into dry and mix with just a wooden spoon, maybe 12 to 15 strokes, until you can't see flour streaks anymore. Overmixing toughens the crumb, so stop when you're almost tempted to keep going.
- Fill the liners:
- Divide batter evenly, filling each liner about two-thirds full—this lets them rise without spilling over and creating a burnt ring on your tin. An ice cream scoop keeps portions honest.
- Bake with attention:
- Slide into the oven and set a timer for 16 to 18 minutes; when a toothpick comes out clean, you're done. Every oven is different, so start checking at 16.
- Cool strategically:
- Let them rest in the tin for five minutes, then transfer to a wire rack to cool completely before frosting. Frosting warm cupcakes is a recipe for melted frosting soup.
- Cream cheese frosting:
- Beat softened cream cheese and butter together until it's completely smooth and fluffy, maybe two minutes on medium speed. Add powdered sugar gradually so it doesn't cloud your kitchen, then vanilla, beating until light peaks form.
- Frost and finish:
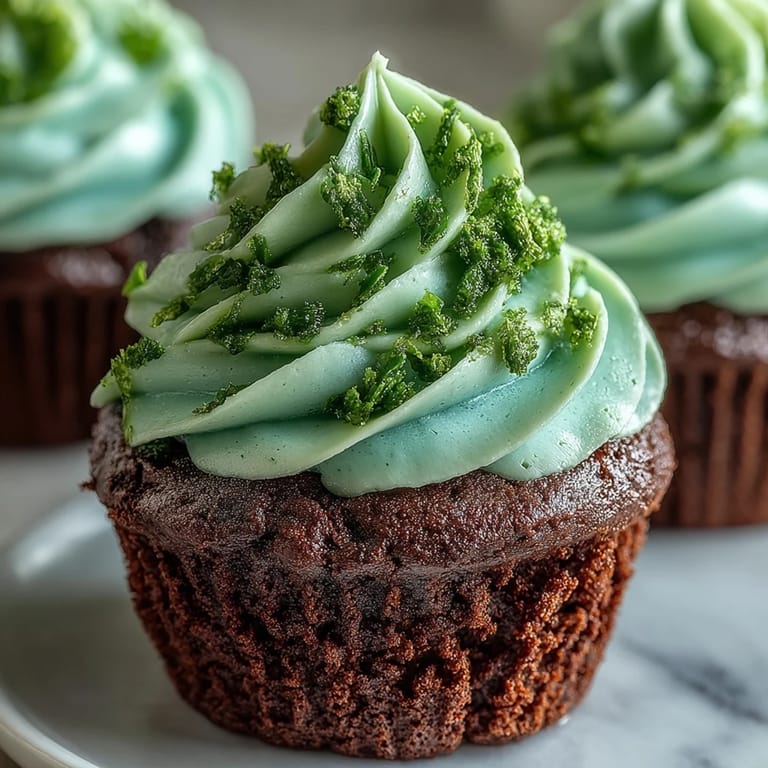
- Spread or pipe frosting generously once cupcakes are cool, then crown them with green sprinkles or shamrock candies if that's your style. Let them sit a few minutes so the frosting sets slightly before serving.
 Pin it
 My mom asked for the recipe after tasting one, which meant everything to me. She's not one for sweets usually, but she ate the whole thing without thinking about it, then asked if I'd teach her to make them. That's the moment when a recipe stops being instructions and starts being something you share.
Why Green Velvet Wins Over Red
Red velvet gets all the attention, but green velvet has a personality all its own. There's something about that jewel-tone green paired with the subtle cocoa undertone that feels sophisticated rather than cutesy, festive without being over the top. I've found that people expect red velvet to taste like food coloring, but green velvet catches them off guard—it's still a real cupcake underneath the color.
The Frosting Ratio That Changed My Game
I used to make cream cheese frosting with more cream cheese and less butter, which made it tangy enough to pucker your face. One afternoon, I flipped the ratio—more butter, less cream cheese—and suddenly I had frosting that was fluffy, spreadable, and could sit on the counter without weeping. Now every frosting I make follows that same principle, and I think about that small shift every single time.
Storing and Keeping Them Fresh
These cupcakes actually taste better the next day, something I learned when I made them the night before and thought I'd messed up. The flavors merge together, the crumb becomes slightly finer, and everything feels more cohesive. Keep them in an airtight container at room temperature for two days, or in the fridge for up to five days—the cream cheese frosting stays stable either way.
- Wrap individual cupcakes in plastic wrap if you're keeping them longer than a day, so they don't absorb other flavors from your fridge.
- These freeze beautifully unfrosted for up to three months, so bake them early if you're planning a St. Patrick's Day spread.
- Thaw at room temperature before frosting, and they'll taste as though you made them that morning.
 Pin it
 These cupcakes have become my go-to for the week of St. Patrick's Day, and honestly, I make them whenever I want to turn an ordinary day into something a little more special. They're just festive enough to feel like a celebration, but simple enough that you won't feel intimidated by making them.