Pin it
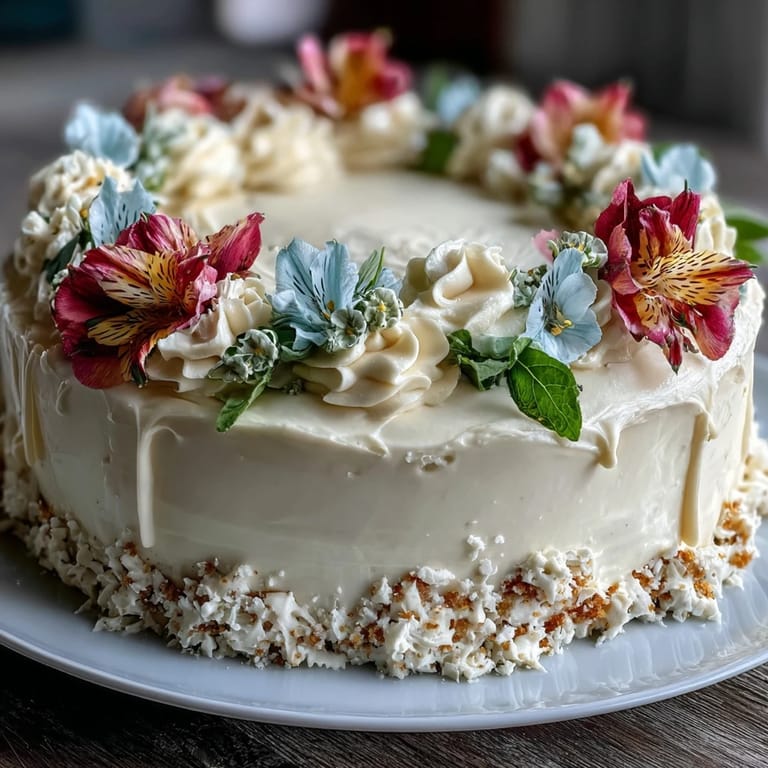
 My cousin texted me three weeks before her graduation that she'd finally picked a date to celebrate, and somehow it landed smack in the middle of Taurus season. She wanted something special, something that honored both milestones at once. I thought about what makes a Taurus tick—steady, reliable, grounded—and realized she needed a cake that was just as dependable but dressed up in a way that felt celebratory. This vanilla cake with its delicate floral buttercream became the answer, a layer of elegance that didn't require you to be a pastry chef to pull off.
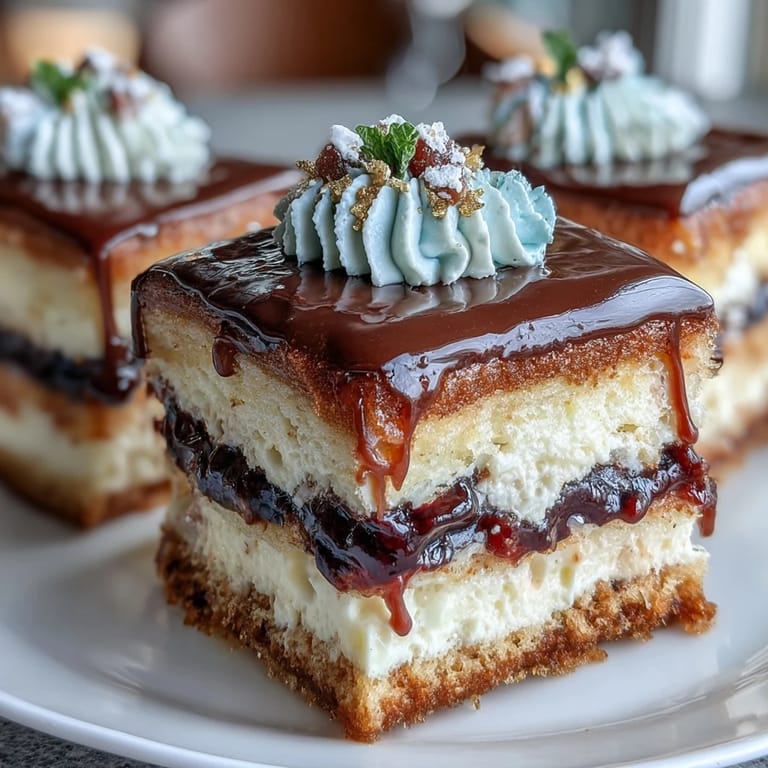
I still remember standing in my kitchen at 11 PM the night before the party, piping tiny roses and leaves while my partner made terrible jokes about my concentration face. The gold leaf caught the light just right when we finally stepped back, and even though it wasn't perfect—one rose had a slightly wonky petal—it felt like exactly what she needed. When she saw it the next day, she got quiet for a second, then smiled in that way that tells you something actually landed.
Ingredients
- All-purpose flour: Two and a half cups gives you the structure without being dense; sifting it together with baking powder ensures even rising.
- Baking powder: Two and a half teaspoons is your leavening agent, and measuring it accurately keeps the cake from spreading too wide in the pan.
- Salt: Just half a teaspoon, but it brightens the vanilla and prevents that one-note sweetness.
- Unsalted butter: One cup for the cake batter should be softened to room temperature so it creams properly with the sugar; the same goes for the one and a half cups in the buttercream.
- Granulated sugar: Two cups works with the butter to create that light, fluffy crumb that makes every bite tender.
- Large eggs: Four of them, room temperature, emulsify with the butter to trap air and create lift.
- Pure vanilla extract: One tablespoon in the cake plus two teaspoons in the frosting; don't cheap out here because you'll taste the difference.
- Whole milk: One cup at room temperature alternates with the flour to keep the batter smooth and prevent overmixing.
- Powdered sugar: Five cups, sifted, dissolves into the buttercream without any grainy texture that would ruin your piping.
- Heavy cream or milk: Two to four tablespoons adjusts the frosting's consistency so it pipes smoothly without being too stiff.
- Gel food coloring: Use green, pink, purple, and yellow to create a garden of floral shades; gel doesn't add extra moisture like liquid colors do.
- Edible gold leaf or sprinkles: Optional but they add that special touch for the Taurus symbol or graduation moment.
Tired of Takeout? 🥡
Get 10 meals you can make faster than delivery arrives. Seriously.
One email. No spam. Unsubscribe anytime.
Instructions
- Set yourself up for success:
- Preheat your oven to 350°F and line three 8-inch round pans with parchment paper, then grease them lightly. This takes two minutes and saves you from frustrated cake demolition later.
- Whisk your dry ingredients:
- Combine the flour, baking powder, and salt in a bowl and set it aside. This keeps everything uniform and prevents pockets of baking powder from creating odd bumps in your cake.
- Cream the butter and sugar:
- Beat the softened butter and granulated sugar together for about three to four minutes until it's pale and fluffy, almost cloud-like. This step is where the magic starts—you're incorporating air that will make your cake tender.
- Add your eggs carefully:
- Add eggs one at a time, beating well after each addition so they fully incorporate. If you dump them all in at once, your batter can separate and become grainy.
- Mix in the vanilla:
- Stir in the vanilla extract until it's completely blended, then you're ready for the alternating part.
- Alternate your dry and wet ingredients:
- Add one-third of the flour mixture, then half the milk, then another third of flour, then the remaining milk, and finally the last of the flour. Mix just until combined after each addition—overmixing develops gluten and makes the cake tough.
- Divide and bake:
- Divide the batter evenly among your three prepared pans, smooth the tops, and slide them into the oven for twenty-eight to thirty-five minutes. They're done when a toothpick inserted in the center comes out clean or with just a few moist crumbs.
- Cool with patience:
- Let the cakes cool in their pans for ten minutes, then turn them out onto wire racks to cool completely. Trying to frost a warm cake is like trying to frost butter—it's a mess.
- Make your buttercream:
- Beat the softened butter on medium speed until it's creamy, then gradually add the sifted powdered sugar while continuing to beat. The sifting step matters because unsifted powdered sugar has lumps that catch in your piping bag.
- Adjust the consistency:
- Add vanilla and two tablespoons of heavy cream, then add more cream one tablespoon at a time until your frosting is smooth but still holds a shape. Beat for three to four minutes until it's fluffy and light.
- Color your frosting:
- Divide the buttercream into bowls and add a few drops of gel coloring to each, stirring until you have your floral palette. Gel coloring is thicker and won't thin out your frosting like liquid colors do.
- Level and layer:
- If your cake layers domed in the oven, slice them level with a serrated knife or a cake leveler. Place your first layer on a serving plate or cake board, spread a layer of buttercream, and repeat with the remaining layers.
- Crumb coat first:
- Apply a thin coat of frosting to the entire cake to seal in crumbs, then chill for twenty minutes. This step prevents crumbs from ending up in your final frosting coat.
- Apply the final coat:
- Smooth on a thicker, final layer of buttercream using an offset spatula, turning your cake turntable as you go. This is your canvas for piping.
- Pipe your floral designs:
- Load your piping bags with colored buttercream and use petal tips for roses and flowers, leaf tips for greenery, and round tips for details. Work slowly and let the piping bag do the work rather than forcing the frosting out.
- Add your final touches:
- Decorate with gold leaf or sprinkles to honor the Taurus symbol or add a graduation cap accent if you want to emphasize both celebrations.
- Chill and serve:
- Refrigerate the finished cake until you're ready to serve, then let it sit at room temperature for fifteen to twenty minutes before slicing so the flavors come through.
 Pin it
 There's something about watching someone's face light up when they realize you made something beautiful just for them that makes all the piping practice worth it. That cake sat in the center of the table like it belonged in a bakery window, but it tasted like home.
The Piping Bag Moment
The first time you squeeze buttercream out of a piping bag, it feels awkward and your hand cramps a little. By the tenth rose, something shifts—your hand finds its rhythm, the pressure becomes intuitive, and you stop thinking about what you're doing and just do it. This is where patience pays off more than precision. A wobbly rose still reads as a rose, and imperfection is actually more charming than computer-generated perfection.
Personalizing for Your Person
The beauty of this cake is that it adapts to whoever you're celebrating. For a Taurus, incorporate earth tones and symbols of stability—deep greens, golds, maybe a simple bull or the constellation. For graduation, add school colors into the floral palette or pipe tiny caps and scrolls into the design. The base recipe stays steady while the decoration becomes a love letter to whoever's being honored.
Timing and Make-Ahead Strategy
You can bake the layers up to one day ahead and store them wrapped at room temperature, which means on the day of the party you're only dealing with frosting and decorating. The buttercream also holds beautifully for two days in the fridge, so you can make it the morning of without stress. If you're really nervous about piping, you can even practice your flowers on parchment paper, chill them until firm, and then transfer them to the cake—it's a secret that makes you look like you've been doing this for years.
- Make the cake layers a day ahead for less day-of pressure.
- Practice your piping on parchment before committing to the cake if decorating feels intimidating.
- Keep your piping bag at a forty-five-degree angle and let the frosting do the shaping, not your hand.
 Pin it
 This cake is less about perfection and more about showing up for someone with something handmade and thoughtful. Make it for the Taurus in your life who deserves to feel celebrated.
Recipe FAQs
- → What flour type is best for this cake?
All-purpose flour works well to provide structure while keeping the cake tender.
- → How can I achieve vibrant buttercream colors?
Use gel food coloring for intense, bright floral shades without altering the frosting consistency.
- → Can I prepare the floral decorations in advance?
Yes, piping floral designs onto parchment and chilling before applying allows for intricate detailing.
- → What is the purpose of the crumb coat?
The crumb coat seals in loose crumbs and creates a smooth base for the final frosting layer.
- → Are there any special tools needed?
Floral piping tips and piping bags are essential for creating detailed floral motifs and decorations.
- → How should the cake be stored before serving?
Keep chilled until serving, then bring to room temperature for optimal texture and flavor.