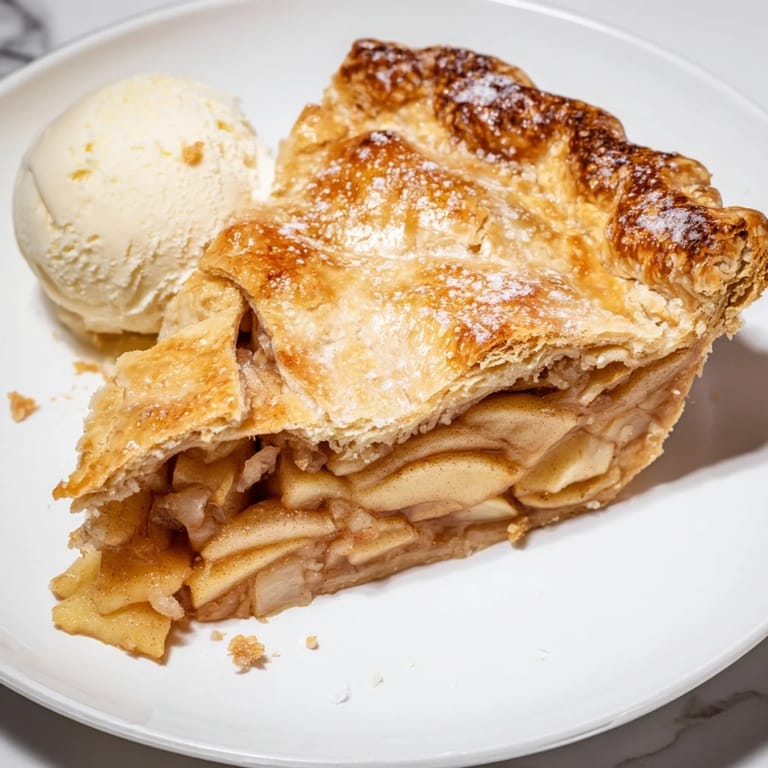
 Pin it
 There's nothing quite like the sound of a knife hitting a cutting board as you slice through crisp apples, the kitchen slowly filling with that unmistakable sweet perfume. I started making apple pies on rainy Sunday afternoons when I needed something to occupy my hands and my thoughts. The first few attempts were disasters with soggy bottoms and burnt edges, but something about the process kept calling me back to the flour-dusted counter.
Last Thanksgiving, I made three of these pies in one afternoon. My sister-in-law took one bite, closed her eyes, and declared it better than her grandmothers recipe. That's the kind of validation that keeps you baking.
Ingredients
- All-purpose flour: The backbone of your crust, providing structure while still allowing those tender flaky layers to form
- Cold unsalted butter: Keeping it ice-cold is non-negotiable for creating those pockets of steam that make pastry flaky
- Granny Smith and Honeycrisp apples: This mix gives you the perfect balance of tartness and sweetness, plus both varieties hold their shape during baking
- Ground cinnamon and nutmeg: The classic spice duo that makes everything smell like comfort and home
- Ice water: The secret to bringing your dough together without activating the gluten too much
Tired of Takeout? 🥡
Get 10 meals you can make faster than delivery arrives. Seriously.
One email. No spam. Unsubscribe anytime.
Instructions
- Prepare your pie dough:
- Whisk flour, salt, and sugar in a large bowl, then work in cold butter with your fingertips until the mixture looks like coarse crumbs with some pea-sized pieces remaining. Drizzle in ice water a tablespoon at a time, tossing gently with a fork until the dough just holds together when squeezed. Divide into two disks, wrap tightly, and chill for at least an hour.
- Slice and season the apples:
- Peel, core, and cut your apples into uniform 1/4-inch slices so they cook evenly. Toss them with both sugars, cinnamon, nutmeg, salt, flour, and lemon juice until every piece is coated. Let them sit while you roll out your crust.
- Build the pie:
- Roll out one dough disk on a lightly floured surface and carefully transfer it to your 9-inch pie dish. Pile in the apple filling, mounding it slightly higher in the center since it will settle as it bakes. Dot the top with those small butter pieces.
- Seal and decorate:
- Roll out the second disk and place it over the apples. Trim any overhanging dough, then press the top and bottom crusts together and crimp the edges with your fingers or a fork. Cut 4 or 5 slits in the top crust to let steam escape.
- Give it some shine:
- Whisk the egg with milk and brush it over the entire top crust. Sprinkle with coarse sugar if you want that extra crunch and sparkle.
- Bake to golden perfection:
- Bake on the lower rack at 400°F for 45 to 55 minutes until the crust is deeply golden and you can see the filling bubbling through those vents. If the edges start browning too quickly, tent them with foil.
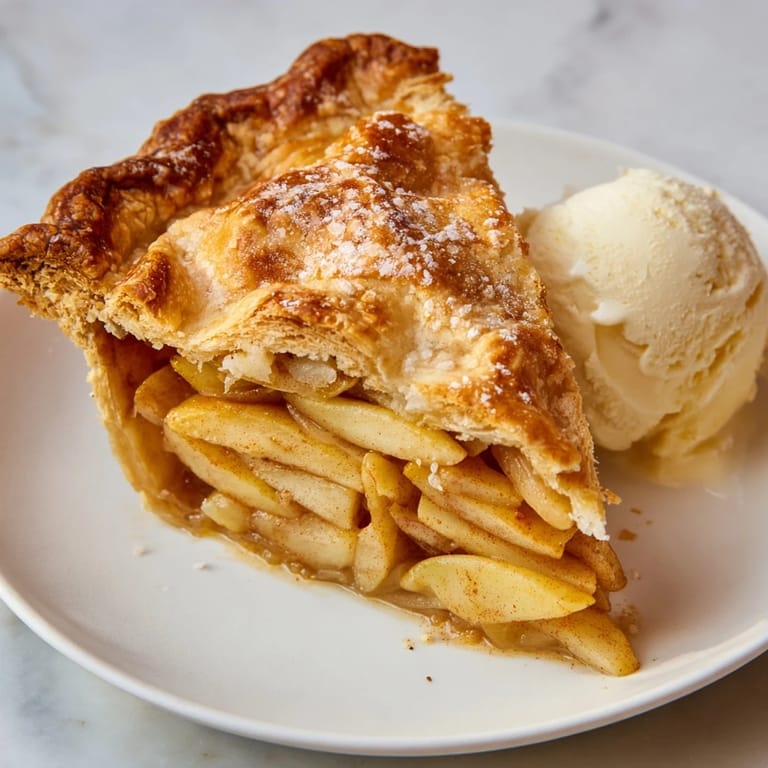 Pin it
 My neighbor smelled this baking through our shared wall and showed up at my door with a carton of vanilla ice cream. Some traditions start with simple kindness and warm pastry.
Choosing the Right Apples
I've learned through many failed experiments that using only sweet apples makes a cloyingly sweet pie, while only tart varieties can taste too sharp. The magic happens when you combine them. Granny Smith apples hold their shape beautifully and provide that welcome tang, while Honeycrisp brings natural sweetness and juice. Avoid Red Delicious or Gala as they turn to mush in the oven.
Mastering the Art of Crimping
A pretty crimped edge isn't just for looks. It creates a thicker barrier that helps seal in those precious juices. I use the thumb and forefinger method, pressing gently between the knuckle of my other index finger. Don't worry if it's not perfect. Rustic-looking pies often taste the best anyway.
Make Ahead Magic
You can make the dough up to 3 days in advance and keep it wrapped tightly in the refrigerator. The apples can be sliced and tossed with the sugar and spices a few hours before baking. Just let them sit at room temperature so they're not ice-cold when they hit the oven.
- Wrap your pie dough disks well so they don't absorb any fridge odors
- If freezing unbaked pies, wrap them thoroughly before freezing and bake directly from frozen, adding about 15 minutes
- Leftover pie keeps surprisingly well at room temperature for up to 2 days, covered loosely
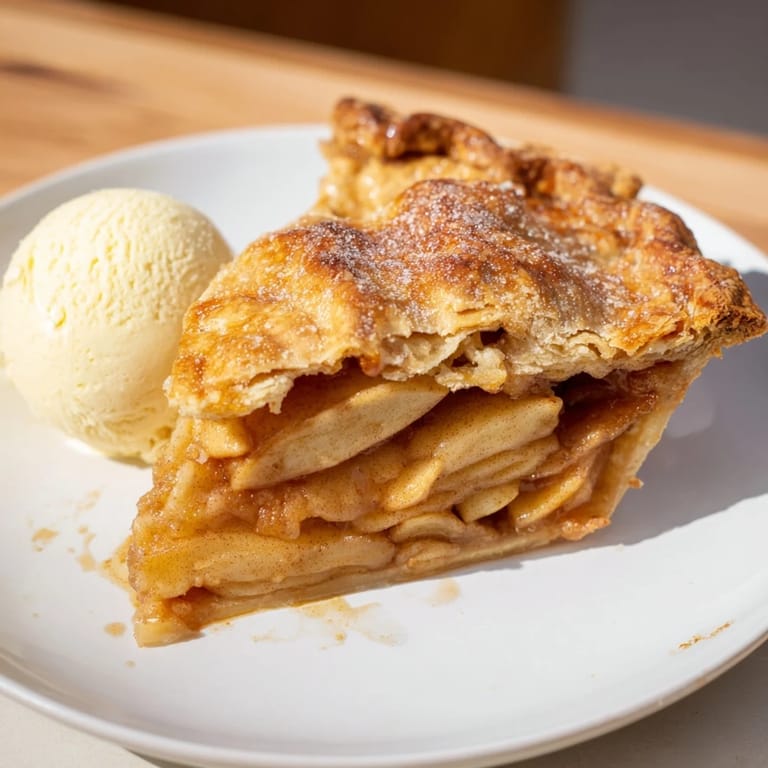 Pin it
 There's something profoundly satisfying about serving a homemade apple pie, still warm from the oven, to people you love. It's not just dessert. It's a memory in the making.
Recipe FAQs
- → What types of apples work best?
A mix of tart Granny Smith and sweet Honeycrisp apples balances flavor and texture beautifully.
- → How do I achieve a flaky crust?
Use cold, cubed butter and ice water, handling the dough minimally to keep it tender and flaky.
- → Can I prepare the crust ahead of time?
Yes, chilling the dough for at least an hour helps relax gluten and makes rolling easier.
- → How do I prevent the crust edges from burning?
Cover edges with foil or a pie shield if they brown too quickly during baking.
- → What is the best way to slice and serve?
Cool the dish for at least two hours on a wire rack before slicing to let the filling set, then serve warm or at room temperature.